

This is the first tutorial I've written for anything other than a class. And, it's all Helen's fault!
It grew out of necessity - just could not find what I wanted to use for a tag!
This was made using PSPx2, but should work for any version.
So, assuming you have a good working knowledge of PSP, let's get started!
Open a new 500 x 500 transparent, raster image.
Select your Ellipse Tool, circle, solid, line width 1 or 2, foreground black, background null.
Start in upper left corner and click, hold and drag down to lower right corner.
Object, align, center in canvas.
Convert to raster.
Select pen tool, freehand, tracking 23, solid line, width 5, color #404000.
Draw a freehand "snakey" line back and forth over your circle, going
completely around. If your line is not what you want, you can adjust by the
points along the vector path (see below)

or just undo and start over.
Once you have the look you want, duplicate, open the new vector layer (click on the plus sign, double click new path), change the color, stroke width to your choice then ok.
Image, free rotate left, 15 degrees.
Duplicate this layer, resize 95% (all layers unchecked), change color and stroke width to your choice.
Rotate right 30 degrees. Convert all to raster, delete the circle layer, close off bottom layer and merge visible. Then duplicate your merged layer once or twice, rotate 45 degrees, merge visible
**You may choose to use a drop shadow on the top layers for depth, but it is not necessary.
Choose your pen tool again, solid line, point to point bezier, width 5, color #333201 (Dk. Brown)
Draw a few short lines randomly around frame, then curve up or down to your liking.
Make as many as you see fit to suit your wreath.

When satisfied, convert all to raster, merge visible and save as png or psp image.
And that's it!
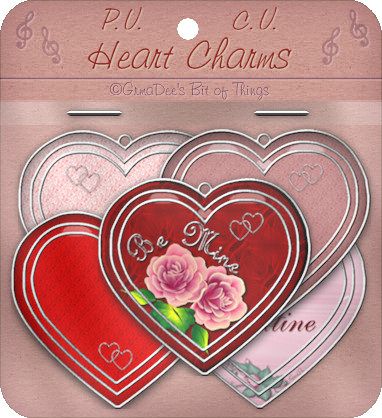
Different shapes will require different steps, for example this heart

is not suited to rotating the image at all. But, you can duplicate and mirror, resize, change colors
and width of line, etc. Remember to leave as vector images until you are satisfied with your
different layers. Then merge visible, duplicate for more depth and save.
In any case, the possibilities are endless!
Hope you found this tutorial easy and enjoyable. Your feedback would be appreciated.


.jpg)


